Reduce Photo File Size on Android Guide 2026
Reduce photo file size on Android with native crop and resize steps, then compress a copy for Gmail, forms, and clean sharing.

Contents
To reduce photo file size on Android, remove wasted pixels first, resize the copy if your phone offers that control, then compress the result only as much as the destination needs. Google Photos handles quick crops. Samsung Gallery can resize on supported Galaxy phones. For Gmail, keep the full attachment set under 25 MB.
The fastest Android fix
Start by asking what problem the large photo is causing. A photo that is too big for email needs a different fix than a photo that looks blurry after a social upload, and treating both with maximum compression is how you get crunchy skin texture, smeared text, and a file that is still the wrong shape.
My practical order is simple:
- Crop away dead space.
- Resize a copy if the native editor offers it.
- Compress only the copy you are about to send.
- Keep the original untouched.
That last point matters. Android phones make it easy to share the same image into Gmail, WhatsApp, a client form, and a listing page, but those targets do not reward the same export. The clean workflow is not “make it tiny.” It is “make one lighter version for this job.”
If you are moving between Android and iPhone workflows, the iPhone version follows the same crop-first logic with different native tools.
Google Photos crop first
Google Photos is the first stop because cropping removes pixels without guessing at compression quality. Google’s Android help page says to open a photo, tap Edit, then use Crop, including aspect-ratio options such as square, before saving the edit.1
Use that for the obvious waste: a ceiling above a product shot, a table edge around a receipt, a wide background around a headshot, or a 16:9 camera frame that only needs the center subject. Small change. Real byte savings.
The drawback is control. Google Photos gives you a fast visual crop, not a clean “make this 1600 px wide” or “keep this under 500 KB” export panel. If the exact file size matters, don’t keep dragging sliders or resaving the same image. Crop once, then move to a tool that reports the result.
Samsung Gallery resize
On many Galaxy phones, Samsung Gallery goes one step further. Samsung’s support page, updated February 3, 2026, shows a Gallery path for resizing: open the photo, tap the edit pencil, open the three-dot menu, choose Resize, pick a percentage, and save.2
That’s the best native route when you have it. A 4000 px phone photo posted into a small contact form does not need all 4000 pixels, and resizing before compression usually preserves cleaner edges than crushing a full-resolution original until the file size drops. The image has less data to carry in the first place.
One caveat: Samsung says the resize feature may vary by model version and software version.2 If your Gallery app does not show Resize, do not spend ten minutes hunting through menus. Export a copy through a browser tool instead.
Browser compression when the editor stops short
Once the native edit is done, use RoundCut Compress when you need a measured smaller file rather than another visual guess. RoundCut reports the before and after size after compression (which is the part Android’s native crop flow hides).
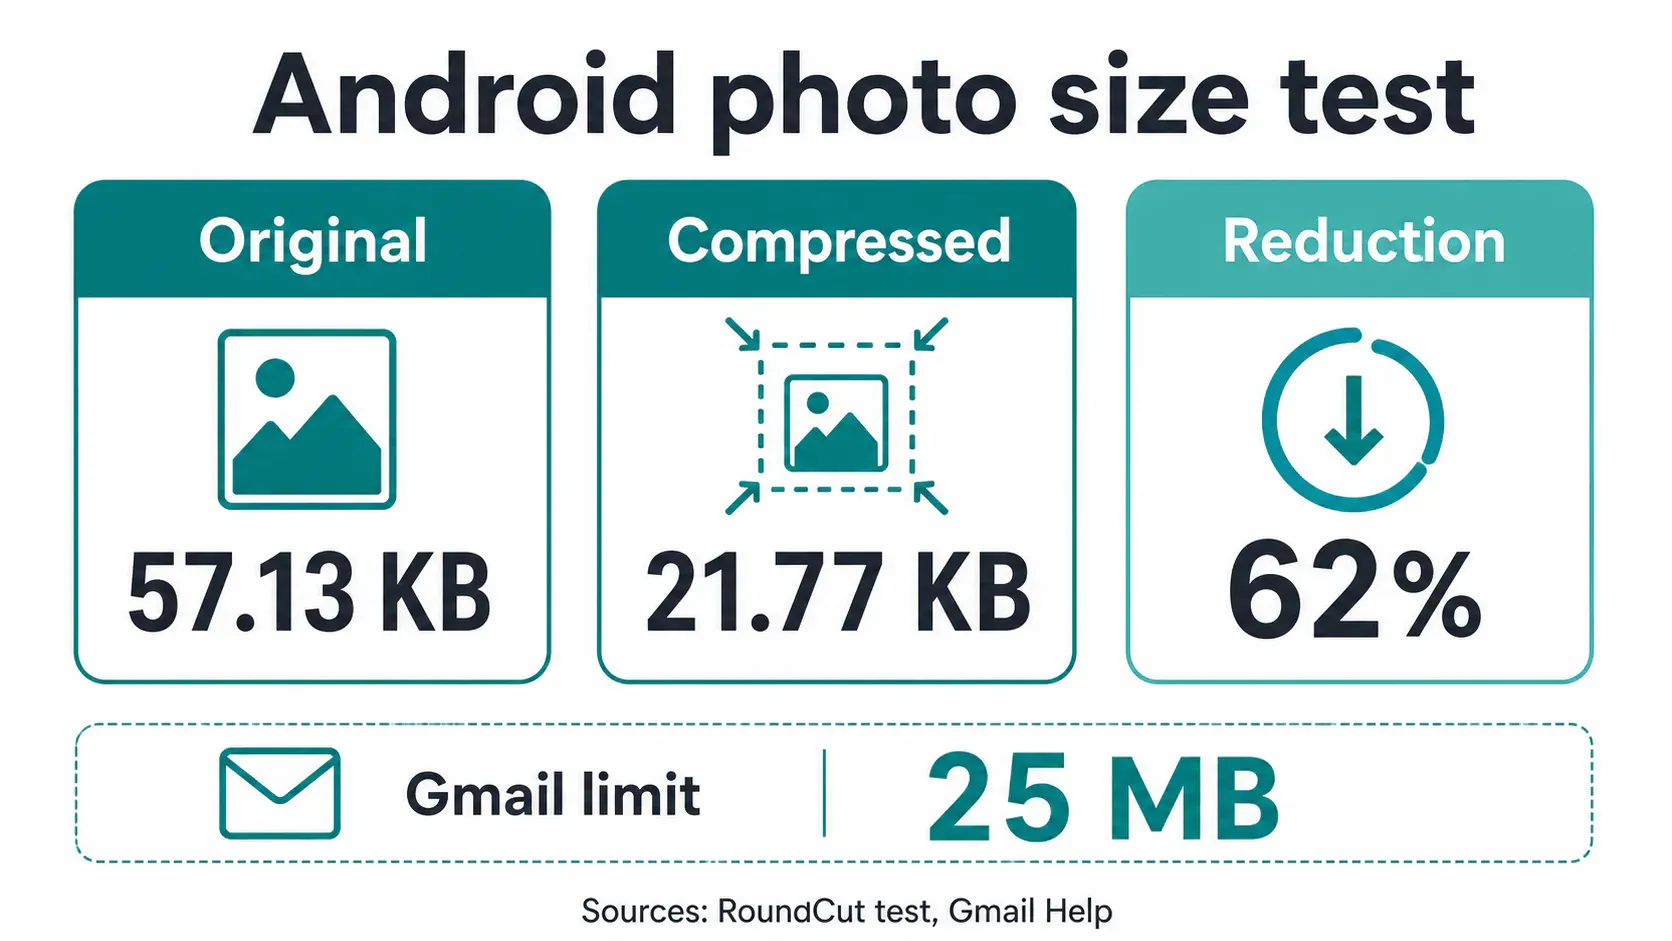
I ran a small check for this article with a synthetic 1600 x 900 JPG. The original file was 57.13 KB. RoundCut returned a 21.77 KB file, a 62% reduction, and showed those numbers on the done screen. That does not mean every camera photo drops by the same amount, but it does show the workflow’s useful trait: you see the result before you send the file.
The privacy trade-off deserves a plain note. In this run, the browser network trace showed /api/batch requests during the compression flow, so I would not describe the current compressor as a no-upload-only tool. For sensitive IDs, medical paperwork, or anything you wouldn’t email casually, use an offline editor or a native share path instead. For ordinary product photos, profile shots, and form uploads, the measured output is the point.
If the photo is still physically too large in pixels after compression, RoundCut Resize can shrink the dimensions first; then run compression again on the resized copy.
Targets that keep sharing painless
Gmail gives you the clearest public target: personal Gmail accounts have a 25 MB attachment limit, and Gmail turns over-limit attachments into Google Drive links.3 That Drive fallback is fine for a folder of vacation photos. It’s annoying when a client expected one attached JPG, or when a form rejects cloud links.
For email, I try to keep the whole message comfortably under the limit rather than shaving one photo to the edge. Five images at 4.8 MB each technically fit under 25 MB before message overhead and other attachments enter the picture, but that is a brittle export. Five images around 500 KB each are boring in the best way.
Use the email guide when the destination is Gmail, Outlook, or Apple Mail and the question is the full message, not one Android photo.
For forms, the posted limit matters more than a universal rule. If the upload field says 2 MB, follow the steps in compressing an image to 2MB and resize first instead of repeatedly recompressing the full camera original. If the field does not state a limit, submit a copy around 1000 to 1600 px wide for ordinary documentation photos (the boring middle ground) and keep the source file in your gallery.
Format choices that do not backfire
Don’t convert every Android photo just because a smaller format exists. Most camera photos are already JPG or HEIC, while screenshots and graphics may be PNG. A photo can usually handle JPG compression well. A screenshot with small text can fall apart fast because letter edges need crisp contrast.
For screenshots, read compress screenshots without blurry text before you apply photo-style compression. Text is less forgiving than skin, sky, or a product surface.
If a destination rejects the file type, RoundCut Convert can make a separate export instead of overwriting the original. Keep the high-quality source in your phone gallery, send the lighter file, and delete the throwaway copy later. Boring file hygiene saves more work than a clever format switch.
Final export check
Before you send the compressed photo, zoom in once on the subject’s edge, any small text, and the darkest shadow. Those are the places compression artifacts show first. If the subject is a receipt, a label, or a screenshot, readability beats file size.
For a normal Android photo, I would crop in Google Photos, use Samsung Gallery resize if it is available, then compress one copy and check the before-after number. If the result looks clean and clears the destination limit, stop there. The original stays untouched, and the shared version does exactly one job.
Footnotes
-
Google Photos Help, “Edit your photos & videos”, Android instructions, accessed July 14, 2026. ↩
-
Samsung Support, “resize a photo”, accessed July 14, 2026. ↩ ↩2
-
Gmail Help, “Send attachments with your Gmail message”, accessed July 14, 2026. ↩


