Compress Photo to 1 MB Guide 2026: Size Before Quality
Compress a photo to 1 MB without crushing detail. Crop dead pixels first, resize the long edge, then export a clean copy for email or upload.

Contents
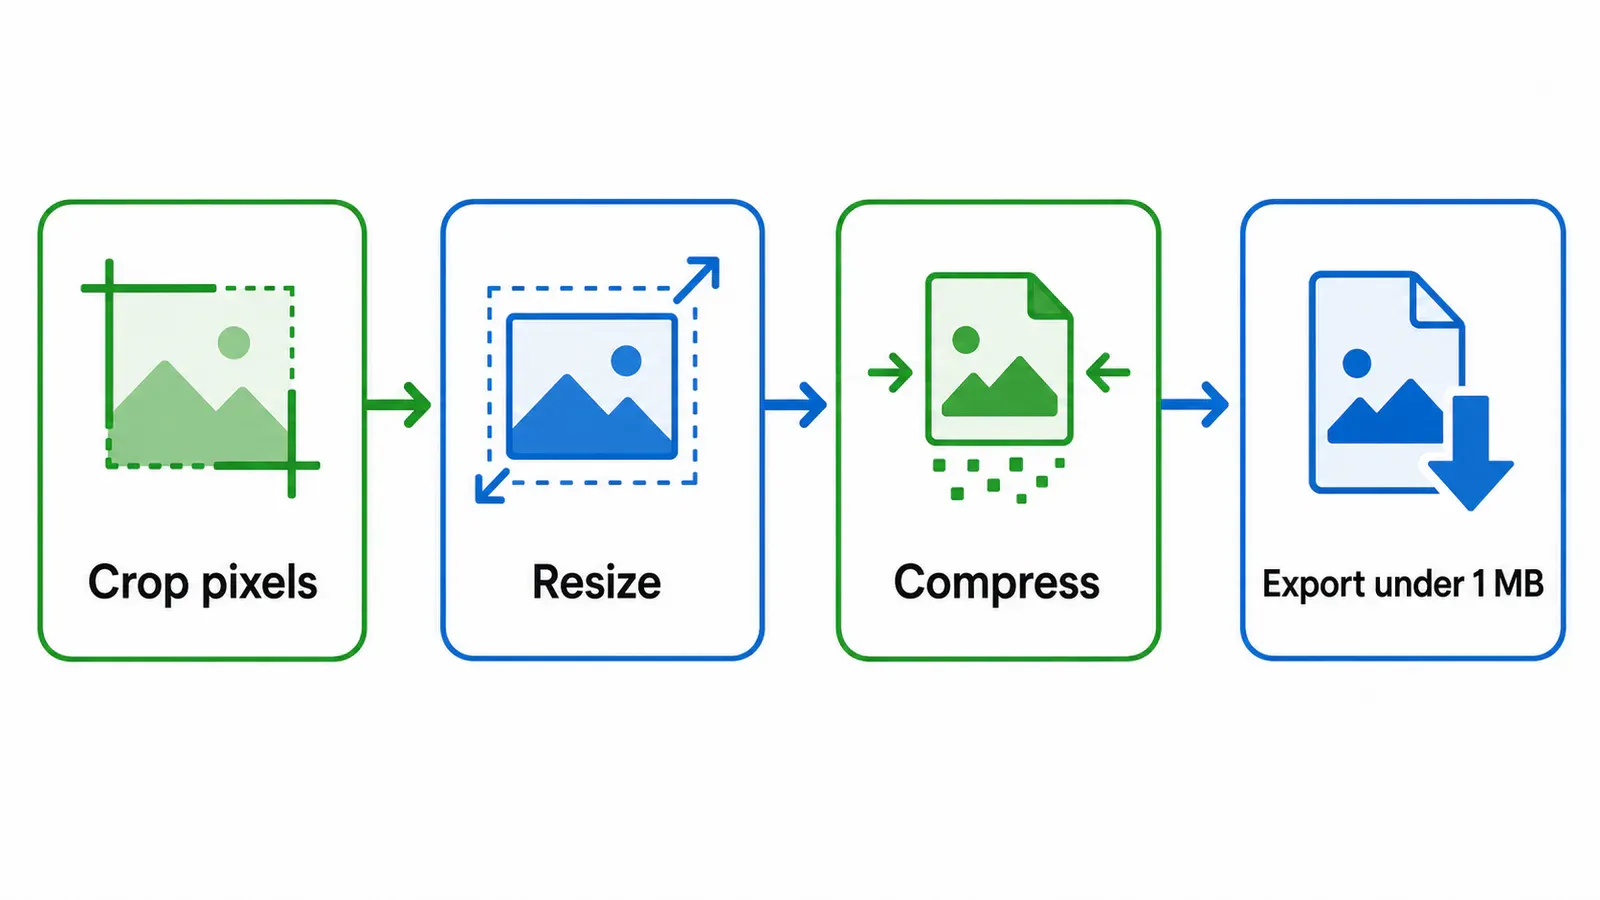
Compress a photo to 1 MB by trimming pixels before you touch quality. Crop wasted edges, resize the image if the destination doesn’t need the camera original, then compress a separate export. If JPG still looks rough near 1 MB, try WebP only when the upload form or recipient can open it.
The 1 MB Target
One megabyte is a practical ceiling, not a magic quality setting. It gives you a file that is easy to email, upload, store in a form, or send over a weak connection, but it can be too tight for screenshots with small type or portraits that need clean skin texture.
Start with the destination. If the photo is going into a profile, a marketplace message, a school form, or a support ticket, the viewer usually sees it small. A 1 MB export is plenty. If the same image is a hero shot for a product page, keep the edited master and export a lighter copy for the form.
The mistake is sliding quality down first. Compression throws away detail; resizing removes pixels the final viewer may never see. Do the reversible layout work first, then squeeze (the part upload forms never explain).
Native Crop Before Compression
Use the editor already on your device first. On iPhone Photos, crop manually or choose a preset ratio; on Android, Google Photos and most Gallery apps give you the same basic trim. The drawback is that these tools usually do not show the final file size until after export.
I start with the crop because dead background is expensive. A wide photo with a small subject wastes bytes on floor, wall, sky, or tabletop, and those pixels still have to be encoded even if nobody cares about them. Tighten the frame without clipping hair, product edges, or the mark. Then save a copy.
For desktop work, Preview on macOS and Photos on Windows are fine for the same job. They will not give you a target-size compressor, but they let you remove the dumbest pixels before you open a browser tool.
RoundCut Workflow for a 1 MB Export
After the native crop, use RoundCut when you need a visible file-size target and a fast second export. First try RoundCut Resize if the pixel dimensions are still huge.
Then compress photo to 1 MB as a separate delivery copy.
Here’s the sequence I use:
- Open the cropped copy, not the original.
- Resize if the long edge is still larger than the place where the image will be viewed.
- Compress once and check the preview at normal size.
- Zoom in on faces, text, and logo edges.
- Export when the file lands under 1 MB without obvious smearing.
RoundCut Compress previews edits in the browser.
RoundCut’s privacy note says the final Compress download is sent once to its encoder, so do not treat the download step as a fully local-only workflow. The honest caveat matters when you are handling client files.
This no-upload test explains which image tools keep work on-device.
Format Choices When 1 MB Looks Rough
JPG is still the safest photo format for upload forms. It handles real-world photos well and opens almost everywhere. It also has no alpha channel, so don’t use it for logos or cutouts that need transparency.
WebP is the first alternative I try when a JPG under 1 MB looks too soft. In Google’s WebP comparison, the format beats PNG by 26% in lossless tests and JPEG by 25-34% in lossy tests at matched quality. That’s useful, but only if the recipient accepts WebP.
Use this rule:
- Photo for a form: start with JPG.
- Transparent logo or cutout: keep PNG, or convert only if WebP is accepted.
- Website image: test WebP, then keep a JPG fallback if your workflow needs one.
For a photo that is already a JPG, RoundCut JPG-to-WebP can save the file without pushing the quality slider as hard. For a transparent PNG, read the separate guide on how to shrink transparent PNGs before you flatten it by accident.
Email and Upload Limits
A 1 MB photo is conservative for email, but that is exactly why it works. Google documents a 25 MB Gmail limit, and Microsoft says Outlook internet email accounts use a 20 MB email size limit, with 10 MB as the default for Exchange accounts.
Those numbers include more than the photo. The message body, other attachments, and the mail system’s own wrapping all eat into the ceiling. If you are sending one image, 1 MB is relaxed. If you’re sending a set, it keeps the whole email from turning into a Drive link, a failed Outlook send, or a slow phone download.
For heavier targets, use the 2 MB version. For tiny forms, the 100 KB version needs more aggressive resizing before compression.
Quick Quality Check
Check the exported file where it will actually be seen. A photo can look fine in the browser preview and still fall apart after a platform crops it, scales it, or recompresses it.
My quick pass is boring:
- Open the 1 MB file next to the original.
- View both at normal screen size first.
- Zoom in once on eyes, text, fabric, or product edges.
- If the new file looks waxy, go back and resize less aggressively before lowering quality again (where compression damage is easiest to miss).
For phone-heavy workflows, the Android path covers the native steps in more detail.
The iPhone version is the better read when the source file came from Apple Photos.
If the real job is sending a whole batch, the email guide is a better map.
Keep the untouched original. Ship the 1 MB copy. If the copy looks worse than the platform will ever show, you have compressed too far for your own eyes, not for the job.


