Loading your files…

Remove background from image

Drop a JPG, PNG, or WebP and the background remover lifts the subject out for you, handing back a clean cutout on a transparent PNG, a lighter WebP, or a white-background JPEG.

or drop the image here

The preview stays on your device. Nothing is recorded until you capture.

Remove the background
How to remove the background from your image

How to remove the background from your image

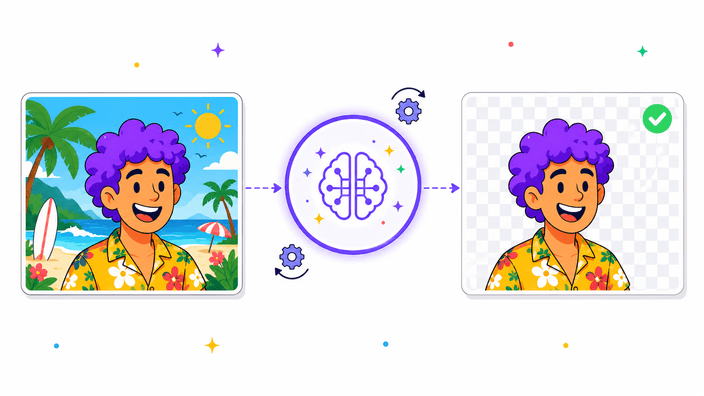
Drop your photo and the background remover gets to work right away. It isolates the main subject and clears everything behind it. You get back a clean cutout with a transparent background. It sits on any color, scene, or layout with no white box around it. There is nothing to trace by hand. The tool reads people, products, pets, food, furniture, and most everyday things. It hands you the result in a few seconds. Check the cutout, pick how you want to save it, and download. The same steps remove the bg from a product shot, a portrait, or a busy holiday photo.

Convert the cutout
Choose how to save your cutout

Choose how to save your cutout

Once the background is gone, you choose the file that fits where the cutout is going. Pick a transparent PNG to paste the subject onto another image or a colored layout. PNG can make a background transparent and works everywhere. Pick WebP for a lighter file that looks the same on the web or by email. When the place you are using it cannot read a transparent edge, save as JPEG instead. The cutout then sits on a clean white background. When in doubt, stay with PNG. Need a different file type for the cutout? You can convert it without leaving RoundCut.

Crop the cutout round
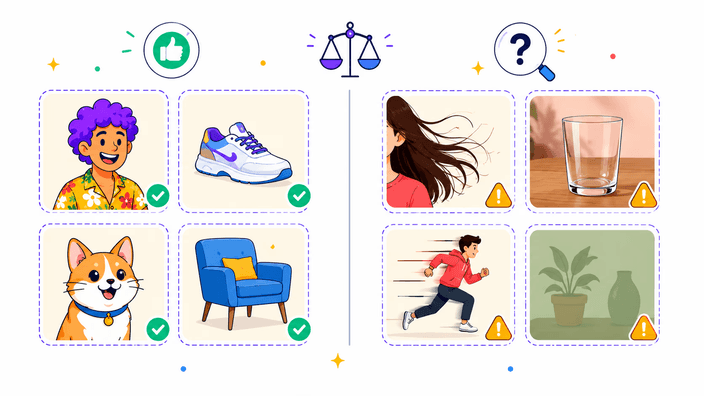
What the background remover handles well

What the background remover handles well

The tool was built for real photos, not just flat studio shots. It reads a subject against a busy room, a street, or a crowd. Portraits, product photos on any surface, pets, food, cars, and everyday objects all come out clean. Fine hair and fur edges hold up well too. A few subjects are genuinely harder. Clear glass with liquid behind it, a mirror, thin backlit fabric, or a pale subject on a pale background can trip it up. There the tool has to guess where the subject ends, and it can be off. Expect a little touch-up. When an edge looks rough, you can crop it round to tidy the frame.

Add resolution first
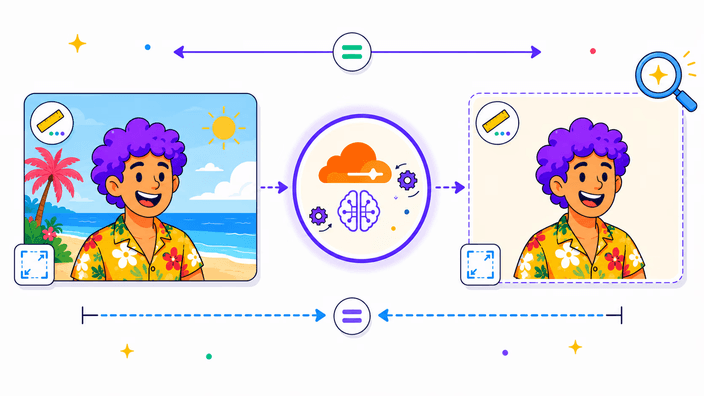
Your cutout keeps its full size

Your cutout keeps its full size

The cutout comes back at the same width and height you started with. A large photo gives you a large cutout, with no shrinking and no surprise downscale. That keeps the subject sharp in a tiny avatar or a full-width banner alike. When you save as WebP or JPEG, a quality control lets you trade a little detail for a smaller file. It stays out of the way when you keep the transparent PNG. Before you download, zoom right into the edge to check the hair, the fingers, or the rim of a product. If your photo started small, add resolution first so the cutout reads sharp.

Read the privacy page
What happens to your photo

What happens to your photo

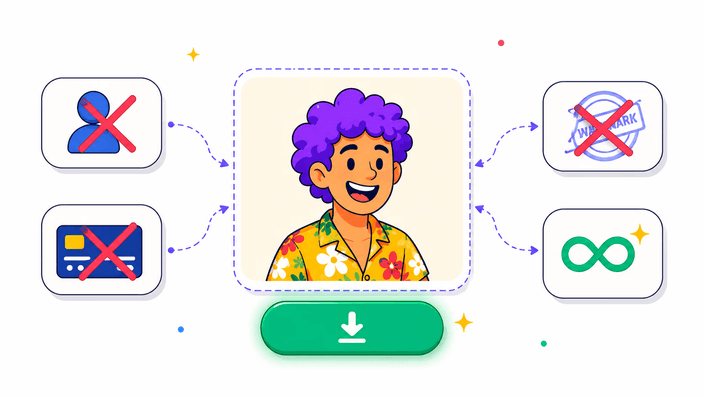
Your photo is handled only for the few seconds it takes to lift the subject out, and then it is cleared. Nothing is kept, nothing is logged, and nothing is passed to anyone else. There is no tracking on the result you download. The cutout is yours to use however you like, on a profile, a store listing, a deck, or a poster. If you want the full detail of how files move through the tool and how long anything is held, the privacy page lays it out plainly. The point is simple: drop a photo, get a clean cutout back, and move on without leaving a trail behind you.

Compress the cutout
Put your cutout to work

Put your cutout to work

A clean cutout is the starting point for a lot of small jobs. Drop it onto a brand color for a product card, layer it into a thumbnail, or place it over a fresh scene for a post. When the file feels heavy for the web, compress the cutout down to a smaller size with no visible drop in quality. When it needs to fit an exact frame, crop it to the shape you want. Each of those steps lives right here. You go from a raw photo to a finished, ready-to-post image in one place. No juggling apps, no uploading the same picture twice.

How it works

  1. Choose your image

    Tap the upload area or drag a JPG, PNG, or WebP photo onto the page.

  2. Let the tool lift the subject

    The background remover isolates the main subject and clears everything behind it in a few seconds.

  3. Check the edges

    Zoom in on the cutout to make sure the hair, fingers, or product rim look clean.

  4. Pick how to save it

    Choose a transparent PNG, a lighter WebP, or a white-background JPEG.

  5. Download your cutout

    Save the finished cutout and drop it onto any color, scene, or layout.

Finish the cutout right here

Once the background is gone, crop the cutout to the shape you need or compress it to a lighter file for the web.

Frequently asked questions

What can I do with the cutout once the background is gone?

Almost anything that needs a subject without its surroundings. Place it on a brand color for a product card, layer it into a thumbnail or a poster, build a logo or a sticker, or set it over a fresh scene for a post. Because the edge is transparent, the subject blends into whatever sits behind it, with no pale box giving away that it was cut from another photo.

Which image formats can I upload?

You can upload JPG, JPEG, PNG, and WebP, the formats the background remover reads with full color. If you have a HEIC photo straight from an iPhone, convert it to JPG first and then drop it in. Very large files may take a little longer, but the tool still returns a clean cutout from the same photo you started with.

Which output formats can I download?

Three. A transparent PNG keeps the see-through edge and is the safe pick when you plan to paste the cutout onto something else. A WebP keeps your transparent edge too, in a lighter file for the web. A JPEG places the cutout on a clean white background, which is handy when the next tool cannot read a transparent edge. PNG covers most cases.

Can it remove a white or solid background?

Yes. A plain white or solid-color backdrop is one of the easiest cases, since the subject stands clearly apart from it. Drop the photo in and the tool clears the white background and hands back a transparent cutout. If you would rather keep a clean white backdrop for a listing, save as JPEG instead and the subject sits on solid white.

Does it handle hair, fur, and fine edges?

Usually well. The background remover was trained on real photos, so thin hair and soft fur edges hold up cleanly on most portraits and pets. The hard cases are see-through subjects like clear glass, fine mesh, or a thin backlit fabric, where the tool has to decide what counts as the subject. For those, expect a little manual cleanup after you download the cutout.

Does it work on my phone?

Yes. The background remover opens in any modern phone browser, so you can lift a subject out of a photo straight from your camera roll without installing anything. The steps are the same as on a computer: drop the photo, wait a few seconds, check the cutout, and save. For HEIC photos from an iPhone, convert to JPG first and then upload.

Is it good for product photos?

Very. A product photo reads best when nothing competes with the item, so lifting it off your kitchen table or desk makes it pop. Drop your shot in, get a clean cutout, and the same item looks sharp on a website, a catalog, or an ad. You can repeat it for a whole range and every shot will share the same tidy look.

Can I use the cutout for a logo or a sticker?

Yes. A transparent cutout is exactly what a logo, a sticker, or a watermark needs, since it carries no boxy backdrop into the design. Drop the subject onto a label, a packaging mockup, or a chat sticker pack and it blends in. If the shape needs to be round or square for the spot it is going, trim it to that frame after you save.

The details

Notes from the team on craft, formats, and the small decisions behind a good result.

Why a transparent cutout drops onto any background
When the background is gone and you save as a transparent PNG or WebP, the empty space around your subject stays truly empty instead of turning white. That is what lets the cutout sit on a brand color, a photo, or a busy layout without a pale box framing it. The same file works on a dark site header and a light printed flyer, because the area around the subject simply shows whatever is behind it. If you ever need an opaque backdrop instead, a JPEG fills that space with white. Keeping the cutout transparent is almost always the more flexible choice, since you can always add a background later but you cannot easily remove one you baked in.
A clean cutout for store listings and marketplaces
Most marketplaces want a product to sit on a plain white or transparent backdrop so the item, not the room behind it, is what shoppers see. Lifting the subject out gives you exactly that: a tidy cutout you can place on white for a listing or keep transparent for a banner. Shoot the product on any surface you have, drop the photo in, and let the tool clear the clutter behind it. The result reads consistent across a grid of listings, which makes a small shop look far more put together. From there you can crop the cutout to the frame the platform asks for and compress it so the page stays fast to load.
When to remove the background and when to crop instead
Removing the background is the right move when the thing behind your subject is the problem, like a messy desk behind a headshot or a crowd behind a product. If the subject itself is fine and you only need a tighter frame or a round shape, a crop is faster and keeps the original photo untouched. Many photos benefit from both: clear the background first, then crop the clean cutout to a circle for an avatar or a rectangle for a thumbnail. Thinking about what is actually in the way, the backdrop or the framing, points you to the quicker path and saves you from over-editing a photo that only needed one small change.